In the realm of creativity, jewelry making stands as a captivating art form that allows individuals to explore their artistic side while creating unique and personal treasures. Whether you’re driven by the desire to adorn yourself with handmade masterpieces, express your individuality, or potentially turn your passion into a lucrative side hustle, dipping your toes into the world of DIY jewelry design can be an incredibly rewarding journey.
This beginner-friendly guide is your gateway to unlocking the secrets of jewelry making. We’ll take you on a step-by-step adventure, from assembling your essential toolkit to crafting your first piece and adding those finishing touches that transform your creations into polished works of art.
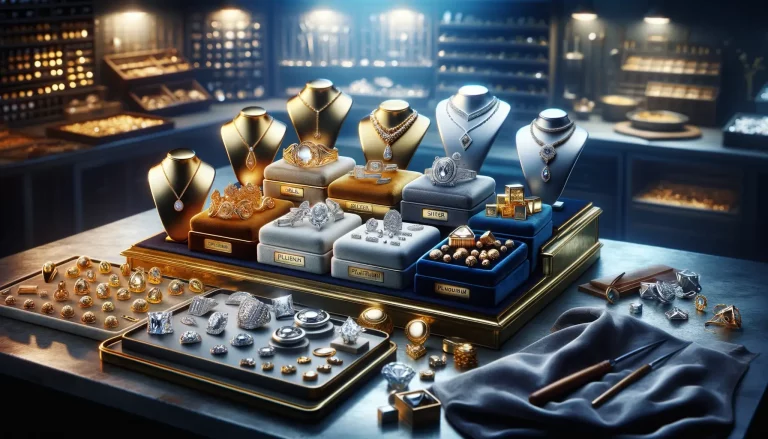
Getting Started: Your Jewelry Design Toolkit
Before you dive into the crafting process, it’s essential to equip yourself with a basic toolkit. Don’t worry; you don’t need to break the bank. Here are the tools you’ll need to get started:
- Pliers: A must-have trio—round-nose pliers, flat-nose pliers, and cutting pliers—will help you bend, shape, and cut various materials with precision.
- Wire: Versatile and available in different gauges (thicknesses) and materials, wire is a fundamental component. Copper or sterling silver are great options for beginners.
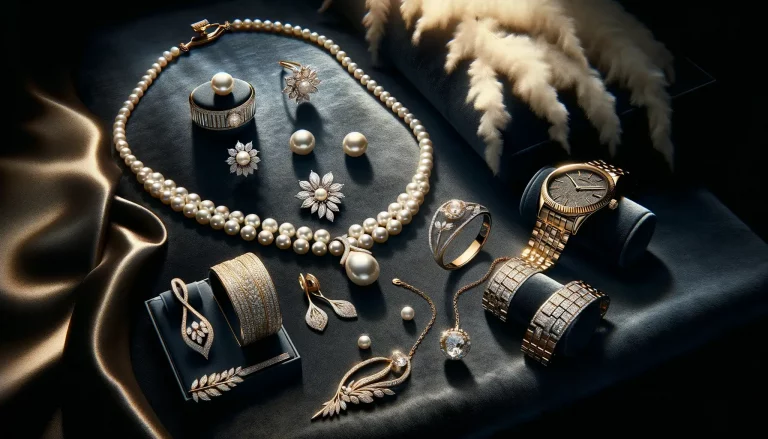
- Beads and Gemstones: The fun part! Choose from a vast array of glass, wood, metal, or semi-precious stones to add color, texture, and sparkle to your designs.
- Findings: These small but mighty components, such as clasps, earring hooks, and jump rings, hold your creations together securely.
- Stringing Materials: Depending on your project, you might need nylon thread, elastic cord, or metal chains to string your beads or gemstones.
Designing Your First Piece
Now comes the exciting part—designing your first piece of jewelry! Here are some tips to help you bring your vision to life:
- Find Your Inspiration: Creativity can strike from anywhere—nature, art, fashion, or even a particular mood. Collect images or create a Pinterest board to gather inspiration and spark your ideas.
- Sketch It Out: Don’t worry if you’re not a professional artist. A simple sketch can help you visualize your design and keep track of the materials you’ll need.
- Choose Your Materials: This is where your personal style comes into play. Bold and statement-making pieces? Opt for chunky beads and large gemstones. Prefer something delicate and elegant? Look for fine chains and small, subtle charms.
- Plan Your Technique: Will you be stringing beads, wire wrapping, or creating custom pendants? Your design might incorporate multiple techniques, so it’s best to have a clear plan before you start.
The Creation Process
Time to bring your design to life! Here are a few pointers to guide you through the creation process:
- Measure Twice, Cut Once: Especially when working with wire or chains, accurate measurement is crucial. Remember, you can always trim excess, but adding length back can be tricky.
- Start Simple: If you’re new to jewelry making, begin with straightforward projects like beaded bracelets or simple earrings. These will help you get a feel for the materials and techniques without feeling overwhelmed.
- Experiment and Iterate: Don’t be afraid to experiment with different combinations of beads and materials. Sometimes, the most stunning designs emerge from unexpected pairings.
Finishing Touches
The finishing touches are what separate homemade from handmade. Here’s how to give your jewelry that professional sheen:
- Polish Your Pieces: Use a jewelry polishing cloth to bring out the brilliance of metal components.
- Secure Your Knots: If you’re using stringing materials, ensure your knots are tight and secure. A dab of clear nail polish can help prevent them from unraveling.
- Quality Control: Before wearing or gifting your jewelry, give it a thorough inspection. Check for sharp edges, loose components, or any areas that might snag on clothing.
Wear or Share Your Creations
Congratulations! You’ve created your first piece of handmade jewelry. Whether you decide to wear it with pride, gift it to a loved one, or start a collection, the joy of DIY jewelry design lies in seeing your vision come to life. Plus, wearing something you’ve made is a fantastic conversation starter.